I took another trip to the Little Shag colony at Sulphur Point on Friday and got a few more decent shots. For flight shots in general manual exposure is the best approach and and this location illustrates it perfectly with the birds flying in against water, distant hills and sky backgrounds. These three area all of varying brightness and if an automatic exposure mode is used the exposure will vary despite the light on the bird remaining constant, resulting in the risk of over or underexposure. With black and white birds like these it is crucial to get the exposure correct as overexposure will blow all detail in the whites and underexposure will limit detail and increase noise in the blacks. As you can see in the attached photos, the brightness of the background varies significantly and would have fooled the in-camera meter to change the exposure if an automatic exposure mode had been used. By using manual exposure, I have ensured optimal exposure on the bird and retained detail in the whites while keeping as much clean detail in the blacks as possible.
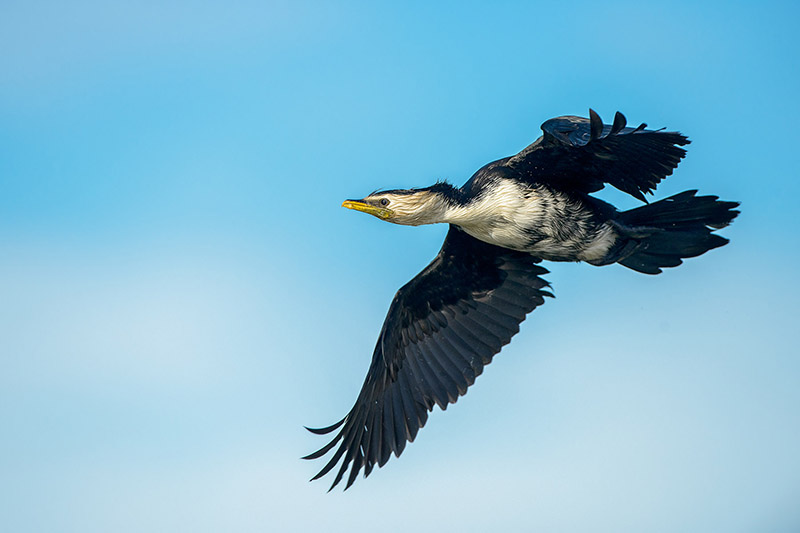
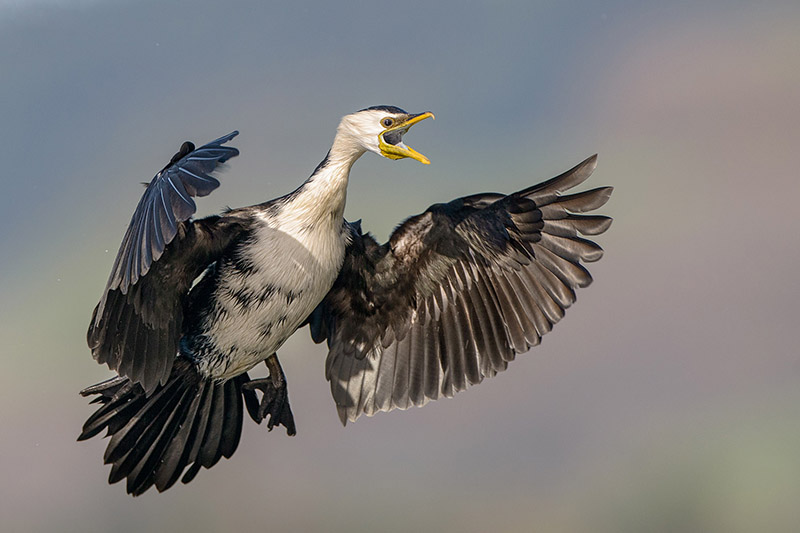
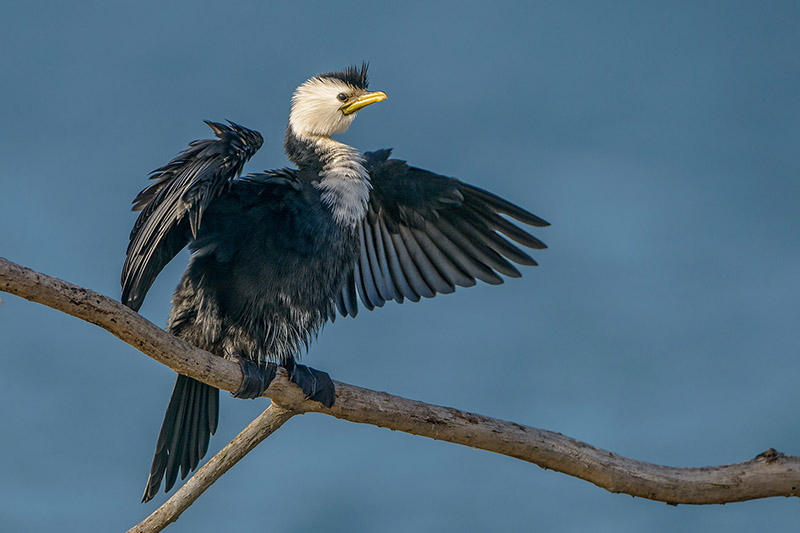
Attached is a piece with more info on this that I wrote as a reply to a question posed on birdphotographers.net and you can follow this link if you would like to read the whole thread and see the image that this relates to.
“I agree with Arash and Dan regarding manual exposure for BIF as it eliminates changes to exposure caused by tracking the bird against varying backgrounds.
The thing that seems to be troubling you is how to determine the “correct” exposure which is what you would then have to set manually. In-camera meters are reflective meters – meaning that they measure the light reflected from your subject. The different metering modes (Matrix, centre-weighted, spot) measure the scene differently. All of them return an exposure reading to render an 18% grey tone. A hand-held incident light meter measures the light falling on the scene and can be useful to determine exposure without the confusion of having to add or subtract light depending on the reflectivity of the subject. Using your in-camera meter to read off a 18% reflectance subject (green grass, deep blue sky) can similarly give a useful starting point.
Matrix metering (Evaluative if Canon) looks at the whole scene and based on a number of factors including focus point applies an algorithm to determine an exposure value to suit what it assumes is the type of scene you are photographing. In this case I suspect it would have given an exposure that would have slightly over exposed the sky and under exposed the Bataleur. As a guess on a D3s I suspect Matrix +0.7 would have been close
Centre weighted measures the central area of the frame and returns an exposure value to render this as an 18% grey. With your image I suspect it would have returned a similar result to matrix as the centre of the image contains dark bird and bright sky. As a guess on a D3s I suspect Centre weighted +0.3 would have given a reasonable exposure.
Spot metering (Partial metering if Canon) allows you to measure just the breast of the bird and determine an exposure to render this as an 18% grey tone. In this case the birds plumage is probably a bit darker than 18% grey so the meter reading would over expose slightly (if the bird was black it would overexpose a lot to make the black look 18% grey and if the bird was white it would underexpose a lot to make the bird look the same 18% grey). My guess on a D3s is that spot metering the breast -0,3-0.7 would have given a reasonable exposure. It is a matter of understanding what you are measuring and then how you want it to appear – to make the black bird look black you would meter and then reduce the exposure by 1.5-2 stops and with the white bird increase the exposure by 1.5-2 stops to render the bird as clean white. The histogram can be useful to determine where you are but can be misleading in some situations. With this image if you only looked at the bird and could get a histogram of only the bird I suspect you would have a fairly nicely ETTR histogram and in a raw processor I think you could pull a reasonable image of the bird from this exposure. If you look at the whole image including the sky I imagine that you have a lot of blocked off highlights/blinkies as the bright sky is very over-exposed/blown.
This brings us to the issue of dynamic range – how many levels of brightness can be adequately recorded on a sensor. Our eyes (with their associated computer) can appreciate a wide variety of brightness and retain detail while a camera sensor can only record a limited range. This is improving over time and I have been amazed at the range that can be pulled from a D800 file but we still need to decide which part of the image we want to expose for to have it rendered cleanly. If you want a sky with detail and a dark bird with detail you can try and open the darker areas in post-processing but will have to accept some noise, or you need to add light to the dark area with fill flash (this is constrained by your distance for the subject and overall scene brightness – in bright scenes such as this you need to be quite close, even with a Better Beamer, as you are stacking 4-8 AA batteries
against a hydrogen fusion device which is a bit like bringing a knife to a gunfight despite the inverse square law) – if you are using a high speed sync for the flash your range drops to meters. The other option to capture a wider range of tone is to use an HDR technique with multiple exposures which is seldom viable with mobile subjects but in this case you could mask a sky from a frame taken with less exposure than the frame which captures the bird optimally.
There is a bit of trial and error that our LCDs and histograms can help with but only once you’ve got into the ballpark by understanding what you are measuring and how to apply that to achieve the effect you want. If I were trying to capture an image of this bird against a detailed sky I would have exposed this image a lot less than you did (expecting few blinkies and no cut-off on the right of the histogram). If I were trying to make a high key image against a white sky I would have probably exposed to within 0.5 stop of what you did (but with no flash) and expected the whole sky blinking back at me and a big cut off on the right of the histogram representing the blown sky that I was wanting to render as white.”
Pingback: Exposure – when is manual exposure mode important?