We have just got home from an enjoyable week at Mount Maunganui. It is a lovely venue just an hour from home and apart from regular day trips we usually stay for a week or so in the summer to enjoy the sea and the walk around the Mount each evening. There is a great variety of bird photography and landscape opportunities and the 3.4km base track can stretch out to a few hours with frequent stops for photos. Edin’s friend, Anna, was staying with us and is a keen but relatively new photographer who was practicing getting to grips with manual exposure and the small colony of nesting Black-backed Gulls provided a good opportunity to try an exercise in exposure.
Being late in the afternoon the gulls are in shade but the sea behind was still in sun which provided a bright background. An automated exposure mode would have given an underexposed result on the birds necessitating some + exposure compensation but changing light levels with passing waves would have caused some fluctuations in exposure. With the gulls being in constant light the best solution was manual exposure suited to the birds.
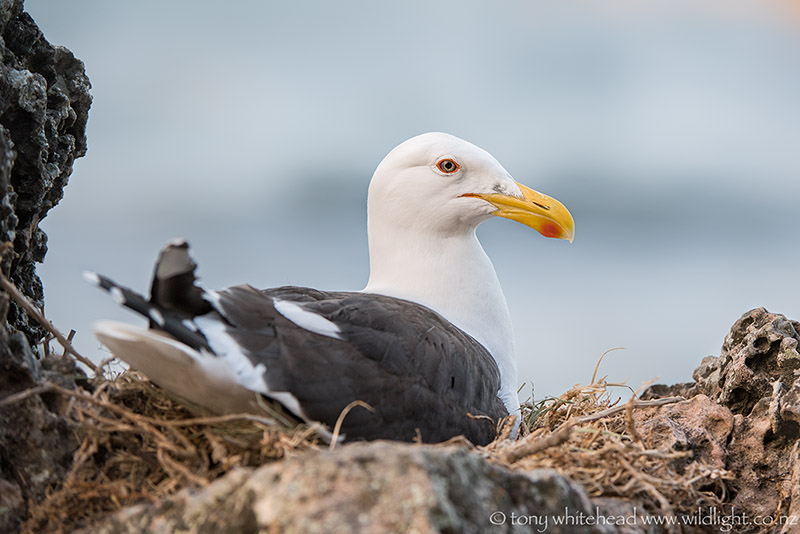
This gave an acceptable result but with the bird having a white head and neck against a light background there was limited tonal separation to make it stand out so we explored the option altering the manual exposure to underexpose and darken the background and compensating by throwing in a puff of fill flash to light the gull. This achieved the result of bringing the bird forward in the scene and getting better separation against the background. This was all simply achieved using the on camera pop-up flash on the D810.
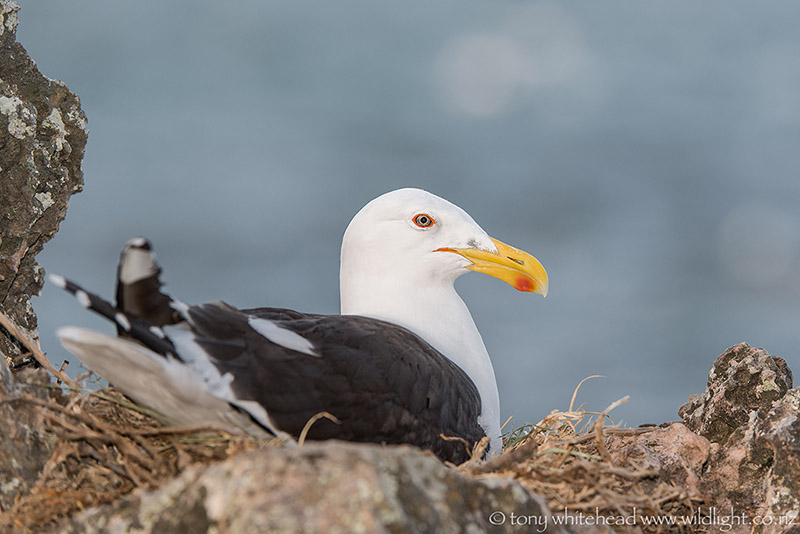
Being quite close to the birds the depth of field was very shallow so I decided to try a focus stack to render more of the bird in focus. I first wrote about this with another image from this same area a couple of years back. To achieve the final image, I closed the aperture down 2 stops to f11 to gain a bit more depth of field (bumping the ISO up 2 stops to 800 to compensate) and then shot a 3 shot stack focused on tail, shoulder and head and then after applying the same exposure adjustment in Adobe Lightroom, moved then into Photoshop as layers and masked the in-focus areas into the final image.
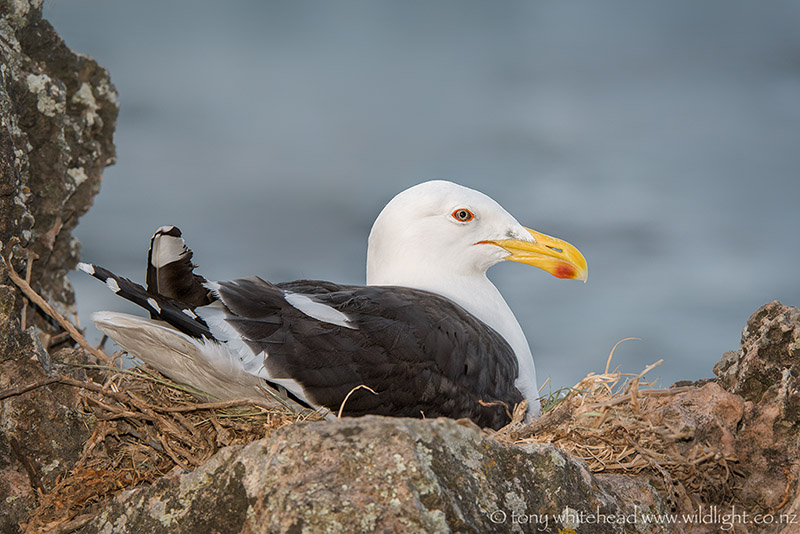
1/200s f11 ISO 200
