Having had my 27in iMac for 6 years things were beginning to feel a little sluggish. I had noticed a performance hit after starting to use a Nikon D800 with its 36Mp files and had increased my RAM to 24GB which had helped a lot but I was feeling frustration at how long programs were taking to load. Browsing the Apple store the cost of getting a newer machine with similar memory and slightly faster processor prompted a rapid rethink. The major advances have been in the use of Solid State Drives (SSDs) in place of traditional spinning platter Hard Disk Drives (HDDs), so I began to explore the option of upgrading the drive in my iMac.
My first stop in researching my DIY iMac upgrade was upgradeable.co.nz as I had found their site easy to use to locate what I needed when upgrading my RAM and the service had been great. I found I had 3 DIY options. I could replace my iMac HDD with an SSD, replace the optical drive with an SSD or add an SDD while keeping both optical and HDD. Because I wanted to keep my HDD and seldom use my optical drive I decided on the 2nd option. The 3rd option, while theoretically nice, is much more complex to perform as it requires removal of the main logic board.
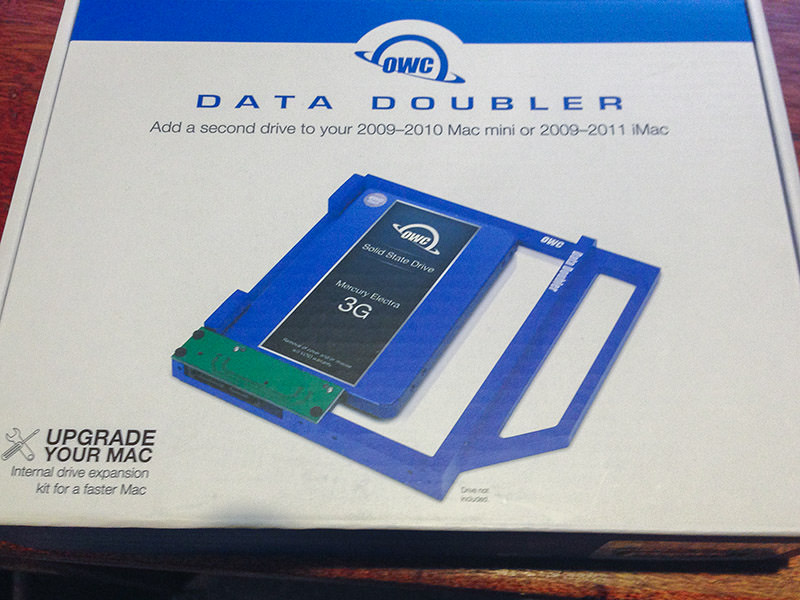
The next step was to source the components required. I would need an SSD and chose to get a 1TB capacity so that I could clone my 1TB HDD onto it before installation. To fit the SDD into the optical bay I would need an OWC Data Doubler and I would need a pair of heavy duty suction cups to remove the glass screen from my iMac. To reuse my optical drive I would need an external USB case. The additional tools (Torx T10, small Phillips screwdriver, plastic pry tool) I already have from previous computer and iPhone repair and upgrade work. OWC and upgradeable.co.nz both supply complete kits but ship from overseas so it was cheaper for me to source some components individually due to the NZ$400 limit for tax free importation.
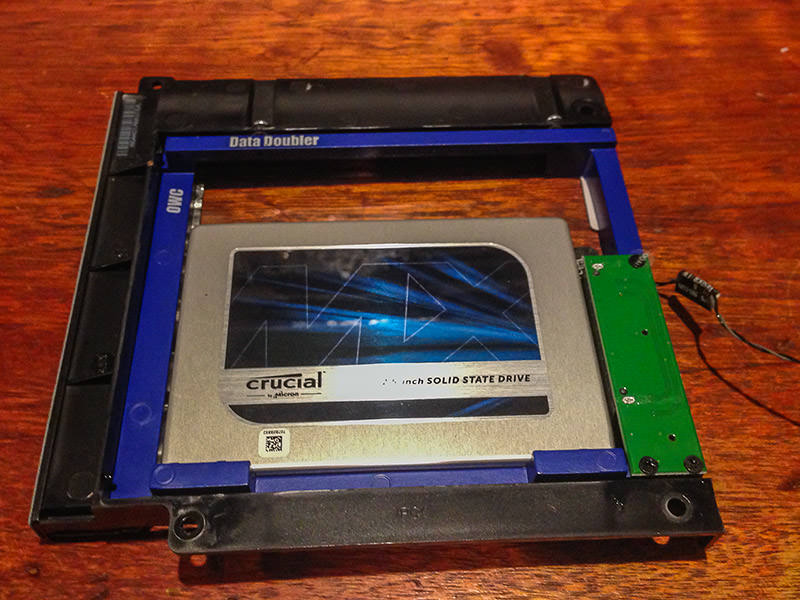
Having got all my components together, my first step was to install the SDD into a USB case, format it with Disk Utility and create a bootable clone of my MacHDD using Carbon Copy Cloner. SuperDuper! and Get Backup Pro would also this job. I have used all 3 programs over the years found them all to be good. Having completed this I removed the SSD from the USB case and installed it into the Data Doubler. This is very simple as outlined in this OWC Data Doubler video.
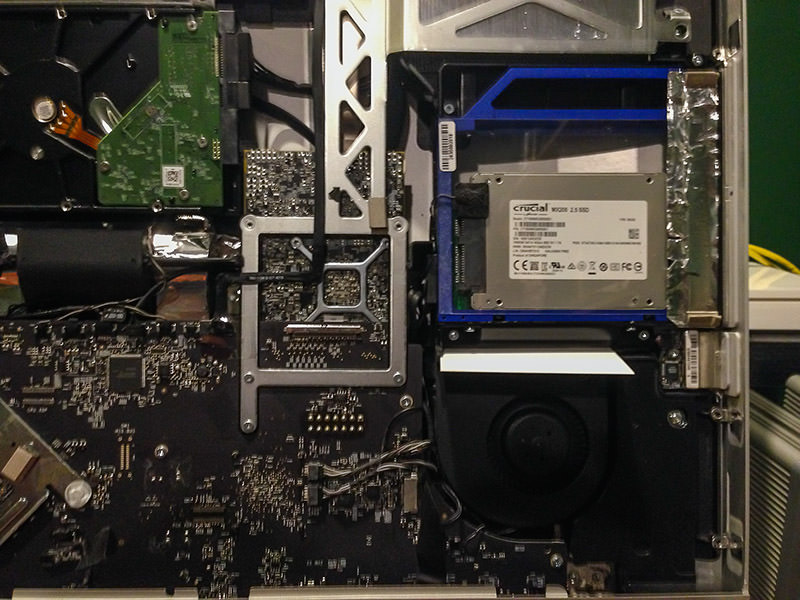
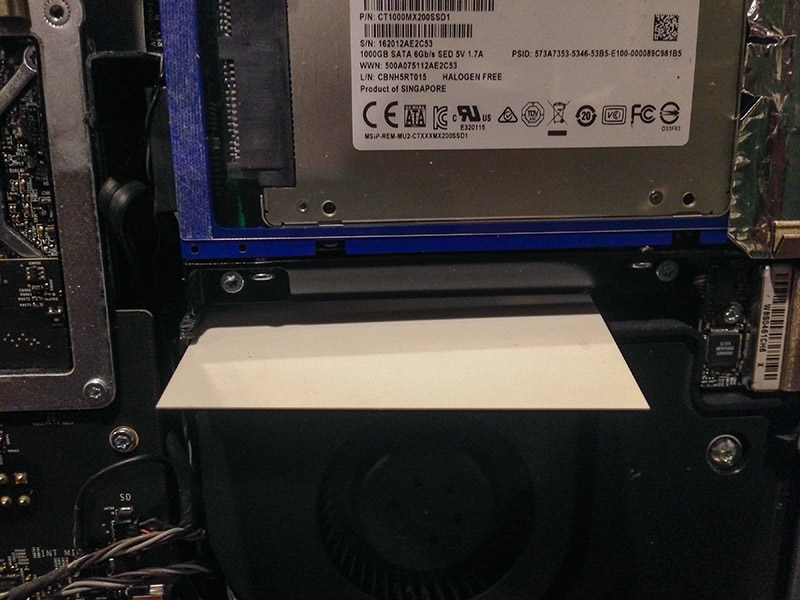
Next step was to crack open the iMac, something that was much less daunting than first imagined. This OWC iMac video shows the process clearly. The only additional thing I would add is that one of the screws to remove the optical bay sits right above the opening to one of the cooling fans and if dropped into it would be a headache to retrieve. A simple business card slid over the opening prevented this possibility and, as with most anticipated problems, it never occurred anyway. Reassembly was smooth and the OWC supplied microfibre cloth was perfect for removing dust from the LCD screen prior to reinstalling the front glass.
Switched on , the iMac booted from its original HDD and the SSD appeared as a drive on the desk top. After the usual prolonged spinning of the HDD and loading all the startup files I selected the SSD as the boot drive and restarted the iMac. The reboot was a revelation, taking a fraction of the time. In retrospect I’m sorry I didn’t time the whole process but my guess is that I had a fully booted machine in approximately a tenth of the time. Applications launch in a flash and it feels like a whole new machine. A far more dramatic upgrade than when I bought my current iMac to replace the previous one in 2010. Microsoft Office needed to be reactivated and 2 of my Photoshop plugins needed some troubleshooting to get functioning but otherwise everything just seems to work and work fast.
As part of my subsequent trouble shooting of plugins I needed to reboot from my old HDD and timed the exercise;
Time to desktop appearing on screen – HDD 1m40s SSD – 20s
Time to desktop fully loaded and usable – HDD 5m30s SSD – 40s
Lightroom clicked to Splash screen – HDD 25s SSD – 1s
Lightroom fully loaded and usable – HDD 3m+ SSD – 15s
Switch on till Photoshop usable – HDD – 14m SSD – 50s
I was quite amazed by the magnitude of some of the differences.
The optical drive was a simple install into the external USB case and sits neatly on the foot of the iMac, ready to use when I need to rip an old CD into iTunes.
The following photos show some of the steps in the DIY iMac upgrade process which I can thoroughly recommend to anyone feeling a little frustrated at the performance of an older machine.
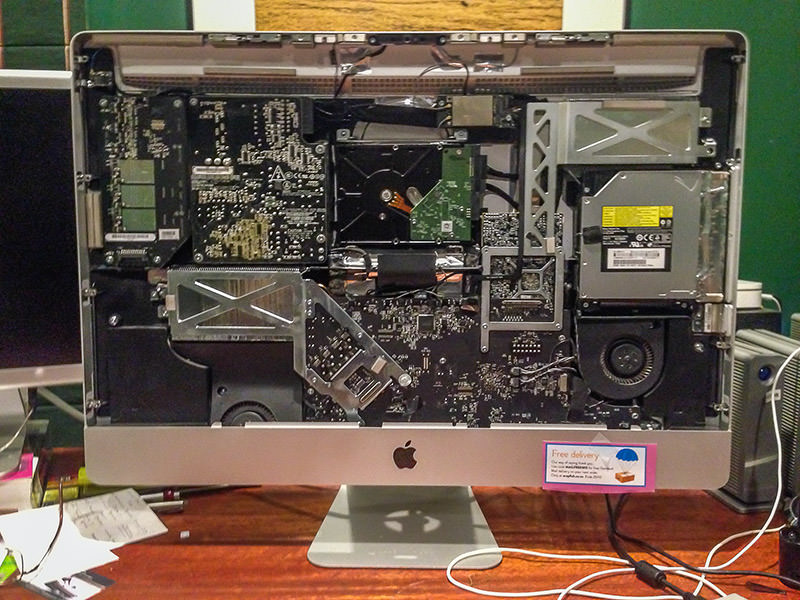
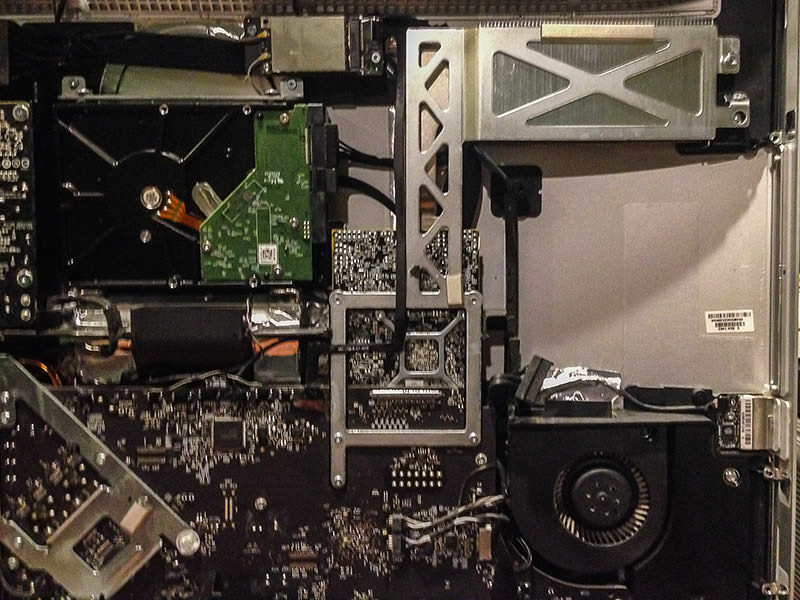
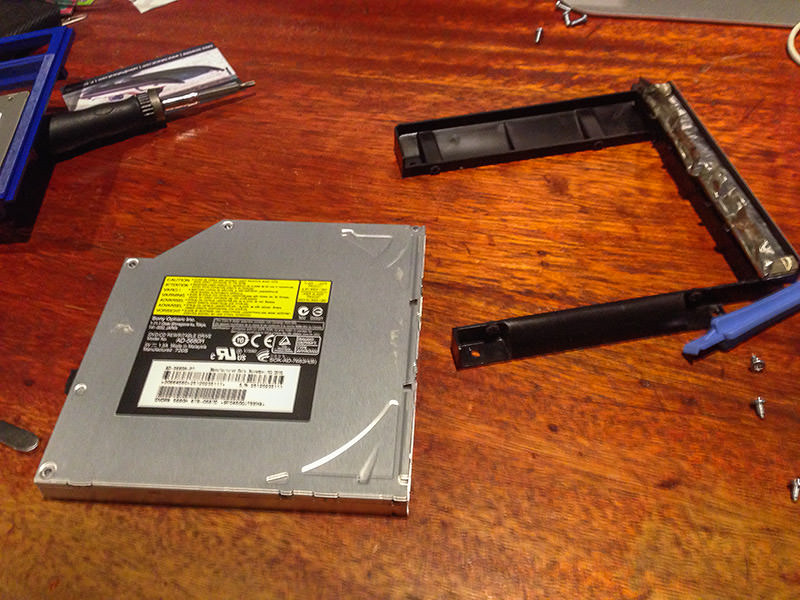


Photos all taken with iPhone5

