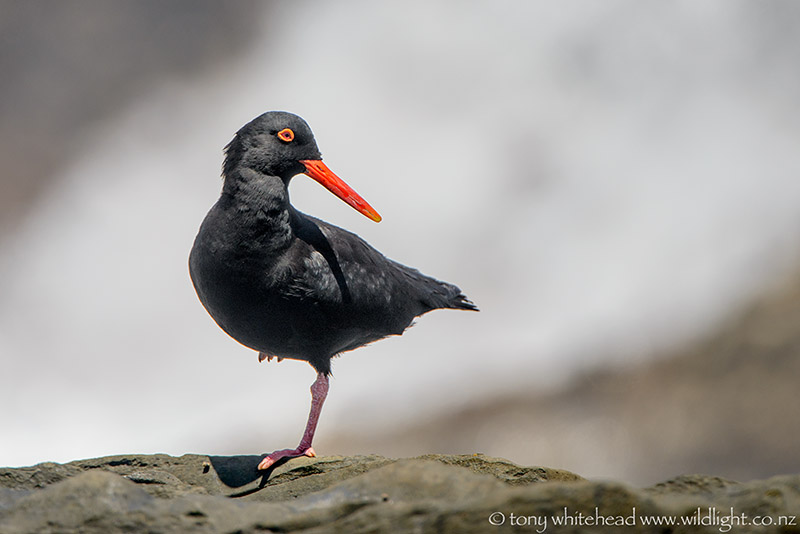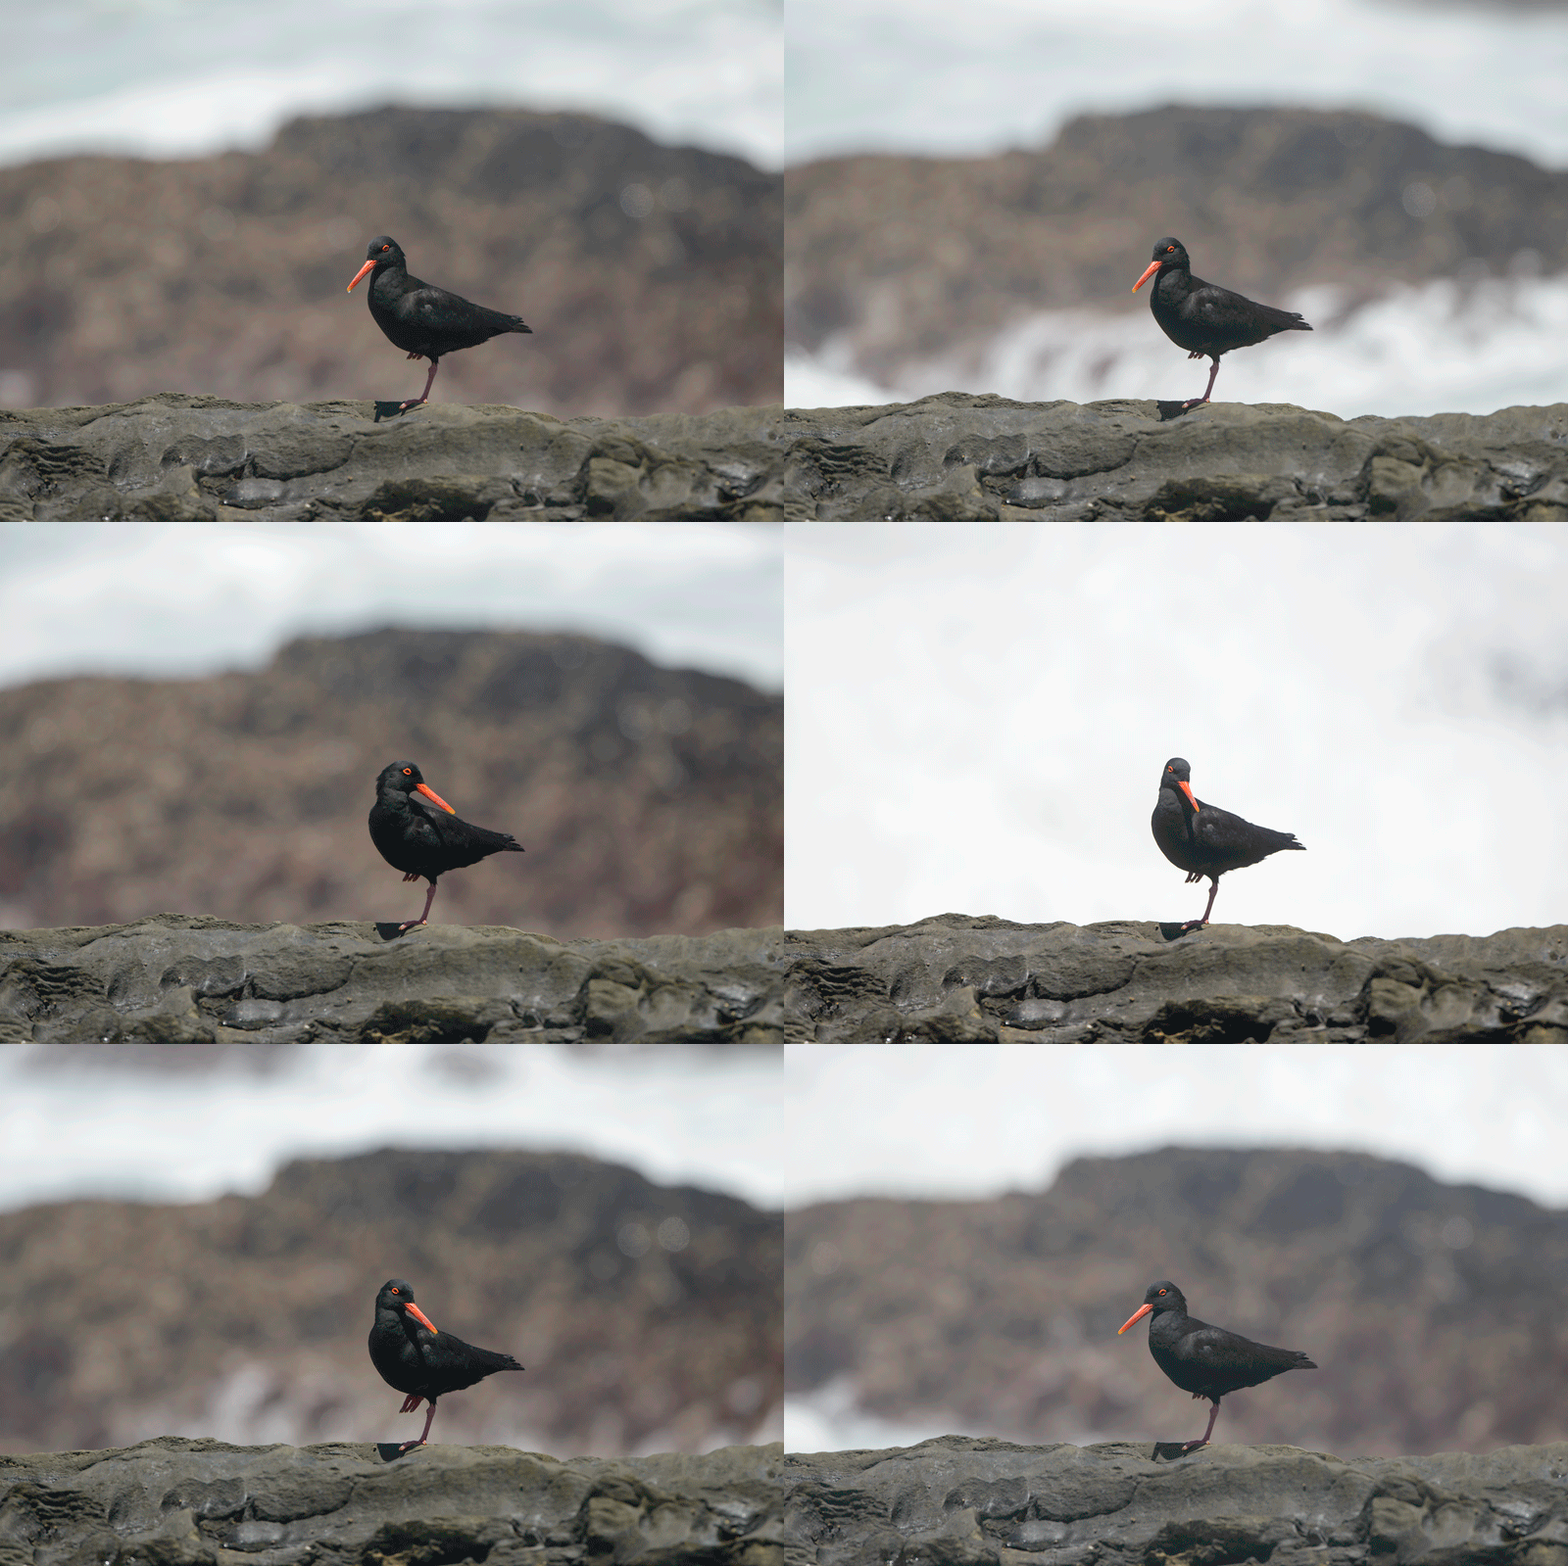
This post was triggered by a visit to Storms River Mouth in the Tsitsikamma National Park on the Garden Route. It is a great place to see African Black Oystercatchers and I had hoped to get a chance to photograph them despite being there in the middle of the day after travelling from Knysna via Plettenberg Bay and Natures Valley. We had a bright sunny day which gave hard contrasty light which was the exact opposite of what I would have preferred for a black bird.
Exposure is an aspect of photography that can cause some confusion with beginning photographers. In the old days it always had to be set manually after using a separate light meter to measure the light falling onto the scene or reflected from the subject. This was then set on the camera manually via f-stop and shutter speed after considering the ISO of the film loaded. The package insert with a roll of film gave an exposure guide for various lighting situations and the “Sunny f16 rule” was useful (in sunlight an aperture of f16 and a shutter speed of approx 1/ISO speed of the film – 1/100 for ISO 100 film -1/125 being the closest in mechanical camera days). The next step was having a reflected light meter built into the camera. The Pentax Spotmatic was the first I remember ( the Nikon F and F2 with Photomic heads achieved the same) and was a bit of revolution as you could meter with the camera and adjust the settings to achieve the exposure without using a separate handheld meter. Next came built in automatic exposure where you set aperture or shutter speed and the camera selected the other variable to give the “correct” exposure. My Olympus OM10 and OM2n were of this breed and seemed magical as did the Nikon F3. This has become more and more sophisticated to the point that cameras now consider various scenes and compare them to a database to assess what type of scene is being photographed and what is in focus to determine the exposure (Matrix or Evaluative metering). Facial recognition in the new Nikon D810 is now also adjusting exposure to suit faces in the scene so that even backlit faces are exposed correctly.
With all this wizardry it is easy to wonder why you would ever need to use manual exposure. The key to this is understanding what the camera light meter is reading and trying to achieve. The meter measures the intensity of light reflected from the scene and selects an exposure to achieve an average 18% grey tone. This is a simplification as the modern algorithms do more to select the in focus subject and nature of the scene but in broad terms, most scenes average out at 18% grey. The problem arises when you have a scene of varying brightness and I have mentioned this in the past in relation to birds flying against variable backgrounds (bright sky to dark trees to bright water) when any automatic exposure mode would alter the exposure due to the changing background while the light on the bird is unchanged. The bird is the important subject so by setting the correct exposure for the bird manually we can ignore the effect of the changing backgrounds.
The oystercatcher in the above animation was another occasion where manual exposure was crucial due to a changing background, this time due to waves breaking over a rock. Using an automatic mode the exposure would have changed a number of stops between a frame with a broken wave in the background and one with an waveless rock. This would have left the bird badly underexposed in the frames with white water and reasonably exposed in the one with bare rock. By manually setting the exposure for the bird you can just ignore the background activity apart from its compositional influence. With static scenes an automatic exposure mode is fine as long as you can use appropriate exposure compensation to expose the subject correctly. For example to achieve a black silhouette against a sunset you need to underexpose the subject to render it black and an uncompensated automatic mode is likely to render it grey and overexpose the image washing out the sunset colours. Conversely for my Birds on White images exposure needs to generally be 1.5-2 stops more than the metered values to achieve a white background and properly exposed bird, an uncompensated automatic mode would give a grey background and under exposed subject.
Here is the image from the session that I felt worked best, giving a decent pose and nice background despite the horrible harsh overhead midday light.
