A recent experience again triggered a thought – how crucial is it to get exposure correct? This may sound a little sacrilegious but bear with me a little. Back in the days of film and manual exposure cameras, exposure was critical and was the first thing you set up when preparing to photograph a subject. Film emulsion choice, exposure, developer and development time were all geared toward trying to get the best possible negative to make a print from.
Colour reversal (slide) film had little latitude so incorrect exposure was harshly punished. Fortunately colour negative film for making prints was more forgiving and this allowed point and shoot cameras to operate quite successfully. I remember being mortified once when I’d taken some photos of the best ever trout I had caught and then found my camera had been set to +2 stops exposure compensation when the dial had been knocked coming out of my bag. There was no option to retake the pictures and I thought I had really blown my opportunity but when I received the prints they were completely fine.
With the move to digital the mantra has been to expose to the right while not blowing the highlights. This makes sense as blown highlights means no recoverable highlight detail and the nature of digital image data storage means that the brightest stop contains half of the stored data. If you waste that stop by not exposing it you have even less data in the darker parts of the image so accentuate noise. This was definitely a bigger issue early on in digital photography than it is now, but remains a factor. Modern sensors and processing software mitigate a lot of this so that now I feel we can consciously decide to underexpose an image to protect other aspects of the compromise equation. One of the other mantras has been “a noisy sharp image is better than a blurry noiseless image” and this is part of what we need to consider in making exposure choices.
What reminded me was a recent macro night photography session where I was a bit slow in sorting my flash settings properly and ended up with some severely underexposed and some overexposed test shots. Out of interest I decided, instead of just deleting the files, to see what I could pull out of them in Lightroom and what the consequences were. I have written before on the ISO-less nature of Nikon sensors and this was a further example of this. With dual gain sensors this needs to be fine-tuned a little. With the Nikon Z8/Z9 the sensor is ISO invariant between ISO 64 and 400 and then over 500. If this interests you, there is more detail in this post on Photographylife. In bird photography terms I am usually shooting at ISO 64 or over 500 but back to the macro image that was the trigger for this post..
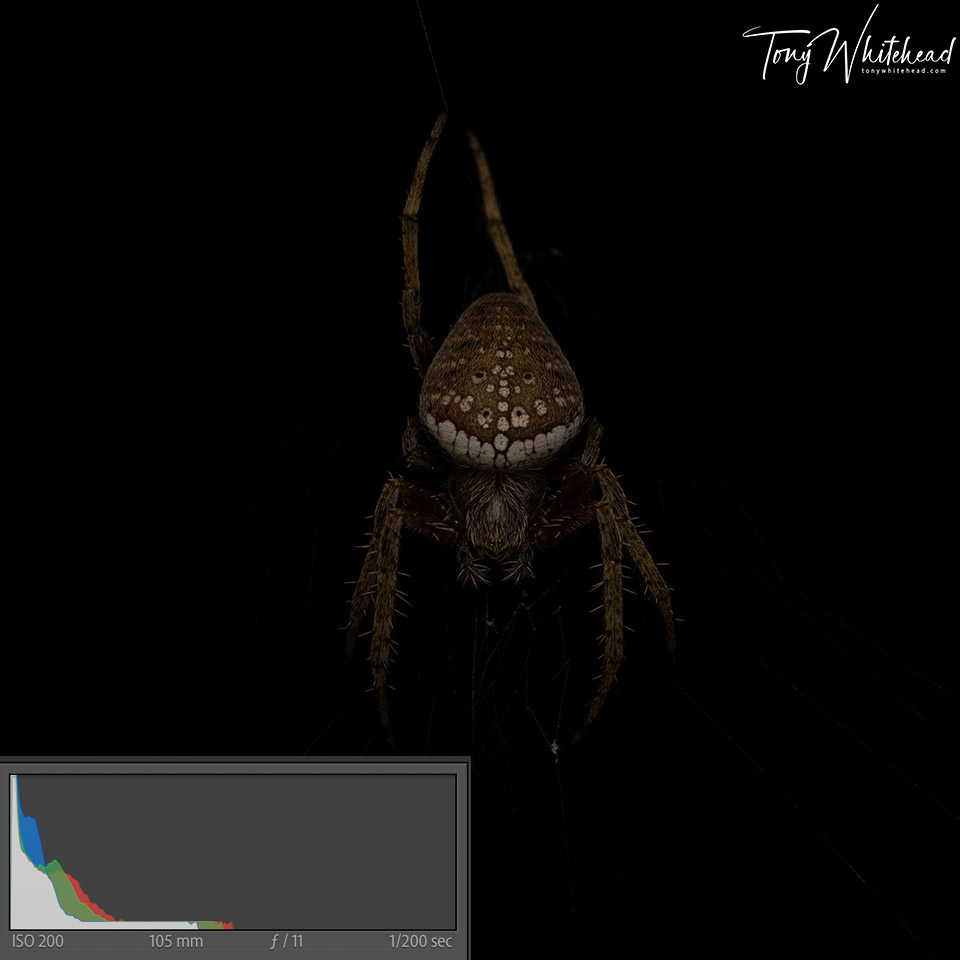
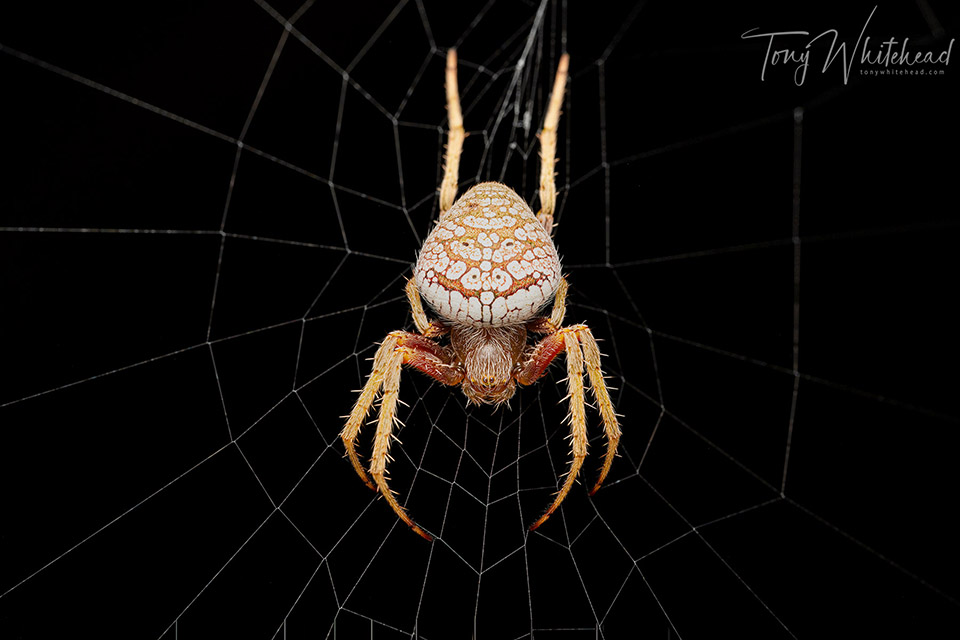
The first image of the orbweb spider was badly underexposed.
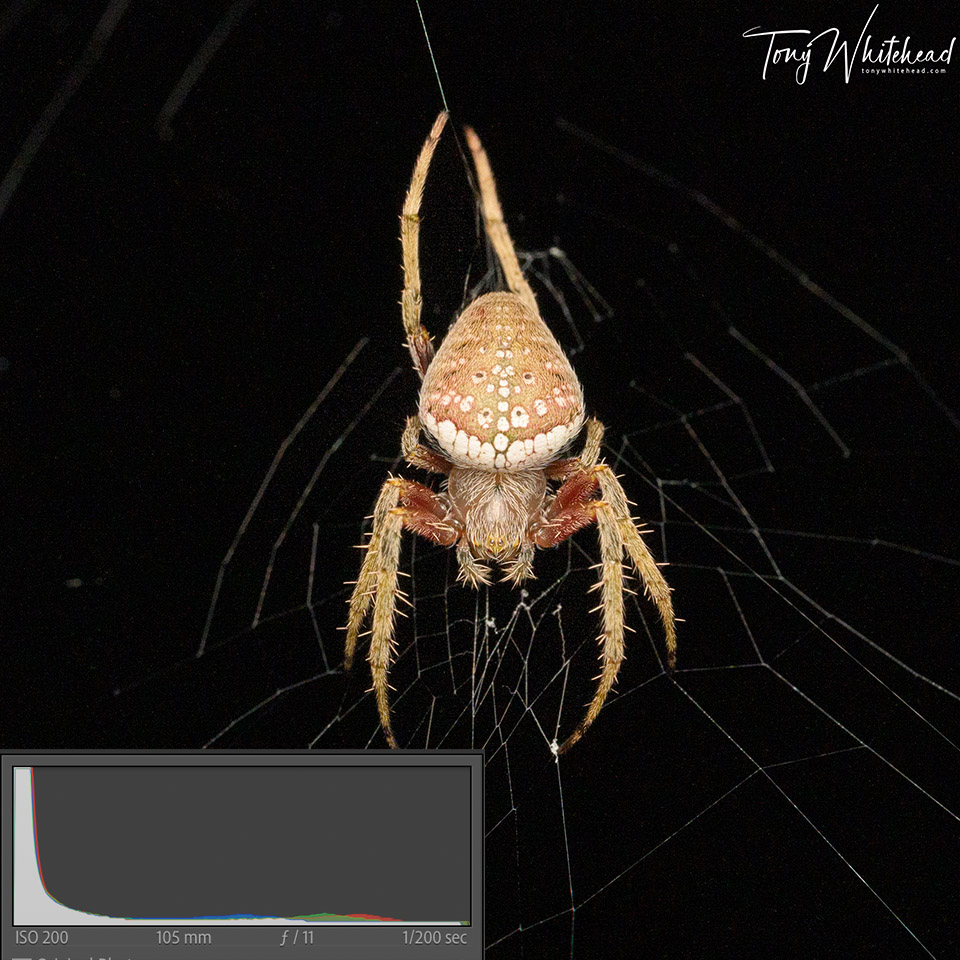
Adding 3.4 stops of exposure in Lightroom achieved a perfectly good and clean image.
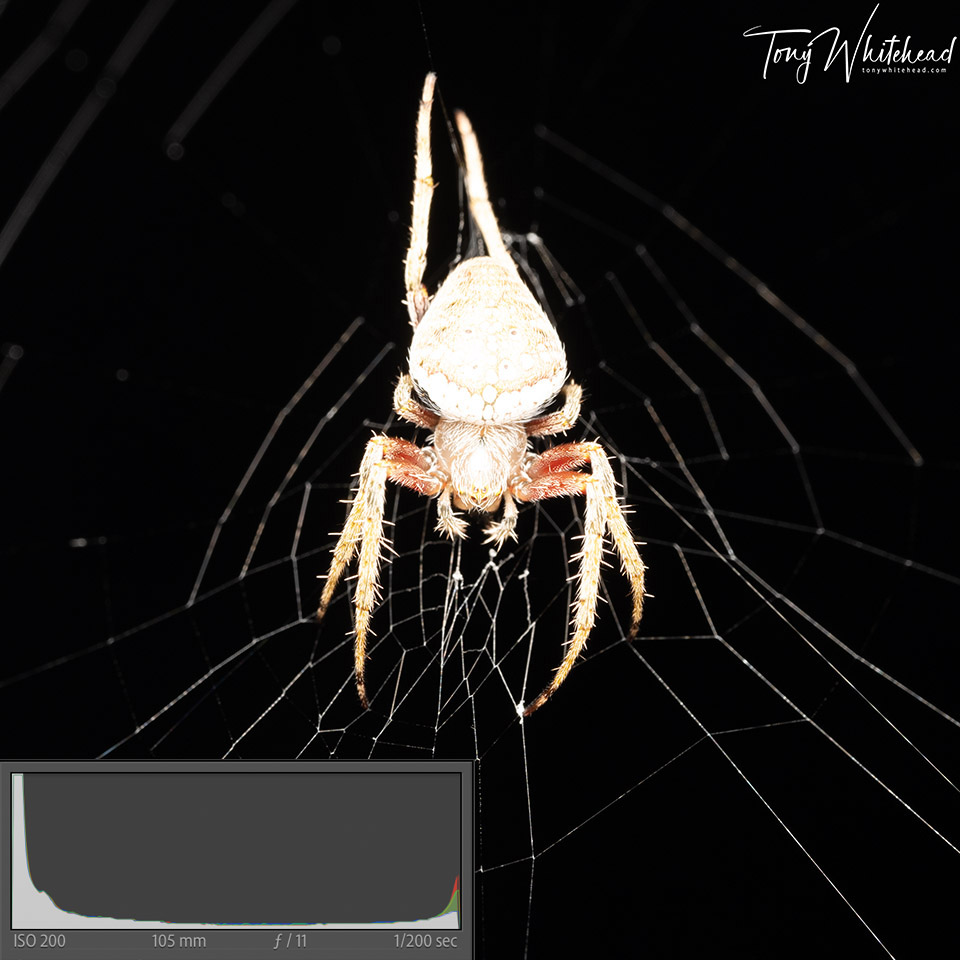
This next image was badly overexposed as shown by the spike at the right of the histogram.
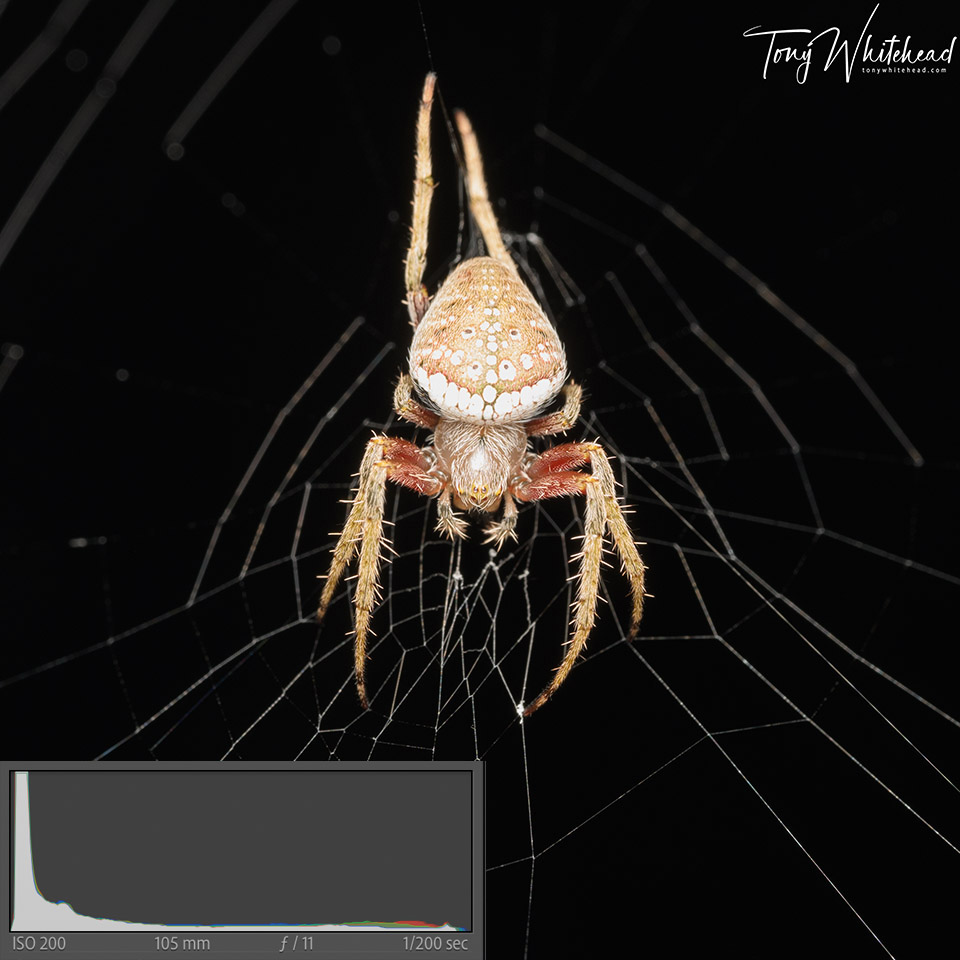
Reducing exposure by 0.35 of a stop and pulling back whites and highlights a little achieved this image.
The histogram is no longer touching the right side but you can see from the bump on the right that there are some textureless/detail-less recovered highlights which are visible on the spider’s abdomen.
For me the take-home message is that underexposure is less harshly punished than overexposure in this situation (Nikon Z7 sensor, ISO 200). Theoretically expose to the right is good but make sure you don’t blow the highlights! If you’re going to make a mistake err on the side of underexposure. This following photo from a correctly exposed frame of the same species(different individual) shows no greatly impressive improvement over the recovered underexposed image.
So what does this all have to do with bird photography? On our wildlife workshops we cover the basics of exposure and histograms at the start and talk about exposing to the right and avoiding blowing highlights. One of the things we also do is demonstrate processing images. I like to process an image I have taken on the workshop as it seems more realistic and relatable than using “one I prepared earlier”.
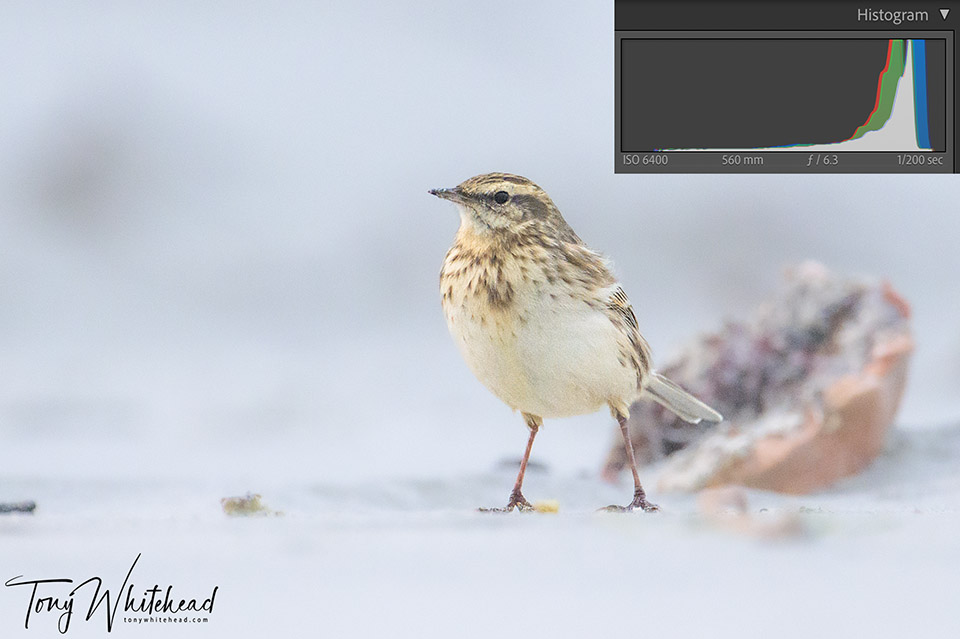
Our first shooting session is at the end of our first day so we are often dealing with low light conditions and on this occasion had been battling challenging low light, rain and limited subject opportunities (typically realistic wildlife photography issues when stuck with a schedule). The image I chose to demonstrate processing was this of a NZ pipit foraging on the beach.
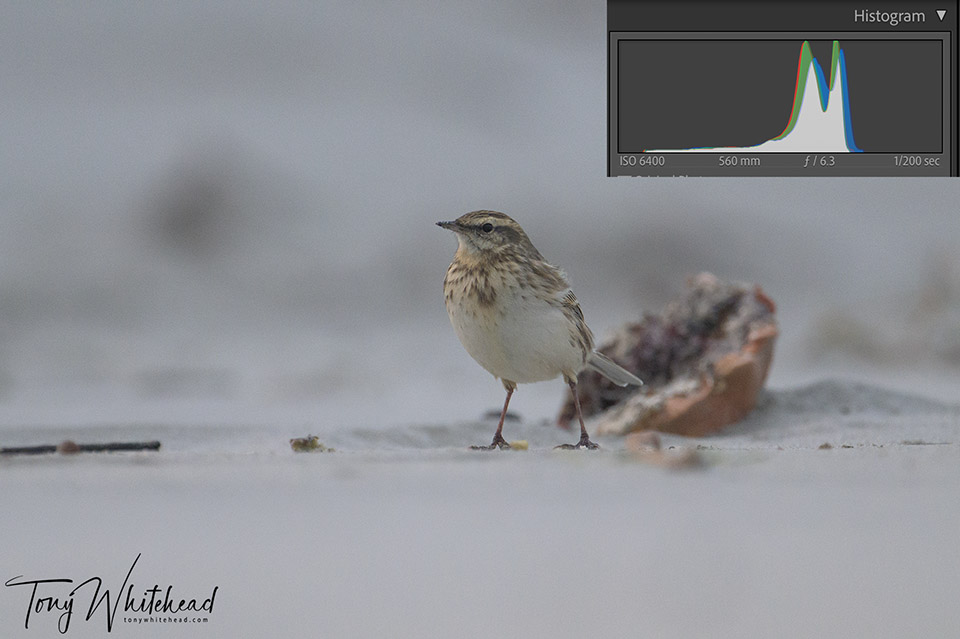
One of the observant class members who had been paying attention the previous day asked”why didn’t you have your histogram touching the right?” It was an excellent question and reminded me that choices we make always involve juggling multiple issues. As in medicine, here is no “always” or “never”.
The exposure triangle is a juggle of ISO/shutter speed/aperture with the aim of getting a histogram as far to the right as possible without clipping highlights. In this situation I was at maximum aperture f6.3 for the lens (Nikkor Z 400mm f4.5+1.4x teleconverter), my shutter speed was as low as I dared to while trying to capture a sharp image when the bird was still and an acceptably sharp panblur with it running (1/200s) so all I could do to get the histogram to the right would have been to push my ISO to 12800 or 25600.
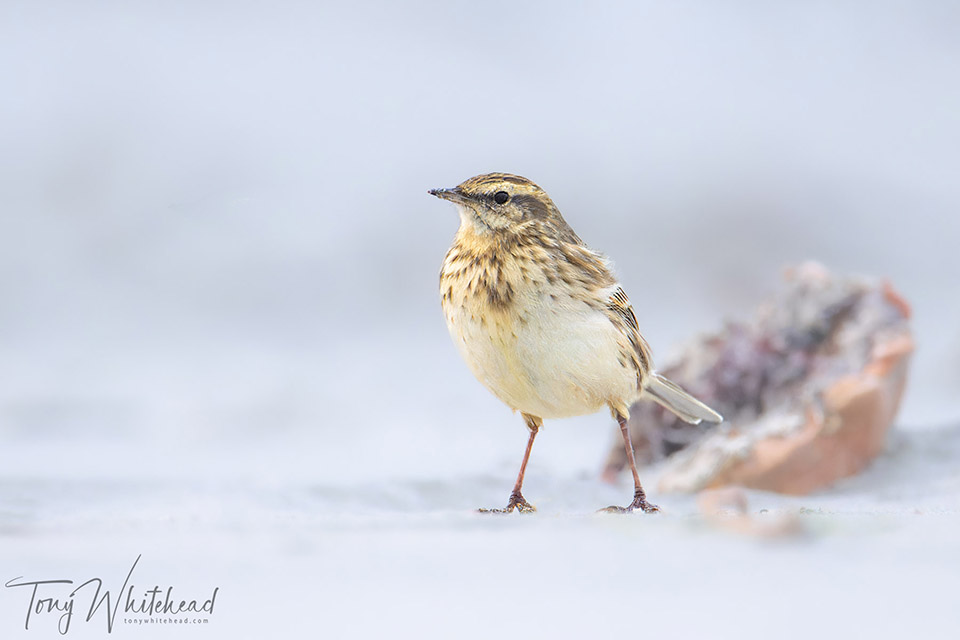
So why didn’t I? The reason was that I knew that there was no penalty to pay by increasing my exposure in post processing. Increasing ISO at the time of capture or exposure in RAW conversion are both applying signal amplification so are essentially equivalent. We were at the limits of the available light and I was going to have to accept that this would bring compromises. With a modern sensor on my Nikon Z9 and AI based noise management in Lightroom or DxO PureRaw these are much smaller issues than in the past. This is the processed RAW image with 1.45 stops of exposure added in Lightroom.
So in summary – avoiding clipped highlights is (usually) crucial (but can be desirable in high key images). Expose to the right is ideal but don’t sweat it if you underexpose an image. Sometimes underexposing is the best compromise to achieve the best image in the circumstances. In reality using the Nikon Z9 (and Z8) which have a dual gain sensor (base ISO 64 and then ISO 500) there is no benefit in increasing ISO beyond 500 other than to give a brighter viewfinder image as an image brightened in post will be no worse than one shot with a higher ISO at capture.
The one caveat to this is a scenario where you have a dark bird against a bright background where you want to retain background detail/colour and extract shadow detail in the bird. In this case the better compromise may be to keep ISO as low as possible (or below the low ISO threshold if possible with dual gain sensors) and use a shutter speed to keep the highlights unclipped which will likely risk motion blur. Taking multiple images will increase your chances of a sharp image and the low ISO will maximise recovery of shadow detail. I will expand on this in next week’s post.
Understanding exposure remains the one area that beginner and intermediate photographers seem to struggle with. Mirrorless cameras with live histogram and exposure preview in the viewfinder make this a lot easier than it was in DSLR days but we need to understand why we make the choices we have to. I have been at meetings where photos are being shared and discussed and when exposure is raised the photographer will say something along the lines of “I don’t understand exposure, I just fiddle with settings until things look right”.
By it’s nature photography is a technical medium just as much as painting and sculpture require technical mastery of the medium using brushes or chisels. Gaining an understanding of how to control the medium to achieve your vision is critical to efficiently achieving the results you desire. Technology can help and automatic exposure can cover most scenarios today – understanding what to do when at the limits is important to achieving your vision when outside the realm of “normal exposures” of “normal scenes”. Cameras don’t have “silhouette” or “high key” settings so you need a good understanding of exposure to get the exposure correct for the image you’re trying to make.
For more information on exposure see my free Basics of Exposure PDF
Macro images with Nikon Z7 and Nikkor 105mm f2.8 VR S with Godox V1 flash and home made diffuser. Pipit photo with Nikon Z9 and Nikkor Z 400mm f4.5 VR S with 1.4x teleconverter.
