Some years back I wrote on gearing up for an Antarctic Photography Expedition. After a recent Arctic trip, I thought I would post an update as I have made some minor adjustments. The biggest difference is that on this occasion I was travelling to the ice alone so needed to be able to manage all my gear on my own, getting it to train stations, on and off trains and onto flights. This meant that my long used Tatonka XL 110L barrel bag was not a realistic option as it needs to be carried along with a heavy camera bag and laptop bag. I needed a rolling barrel solution so after extensive research opted for the Osprey Transporter 120L rolling duffel.
This proved a great success, accommodating what I needed and being easy to pull along streets, airports and train stations. It survived all airline handing unscathed but interestingly was flagged as oversize (marginally too long) at Norwegian airports (Oslo and Longyearbyen) baggage drops so had to be dropped at the oversize baggage counter – no problem once I had achieved it the first time, but a bit disconcerting on the first occasion at a crowded Oslo Airport. With subsequent flights it was expected and easily negotiated.
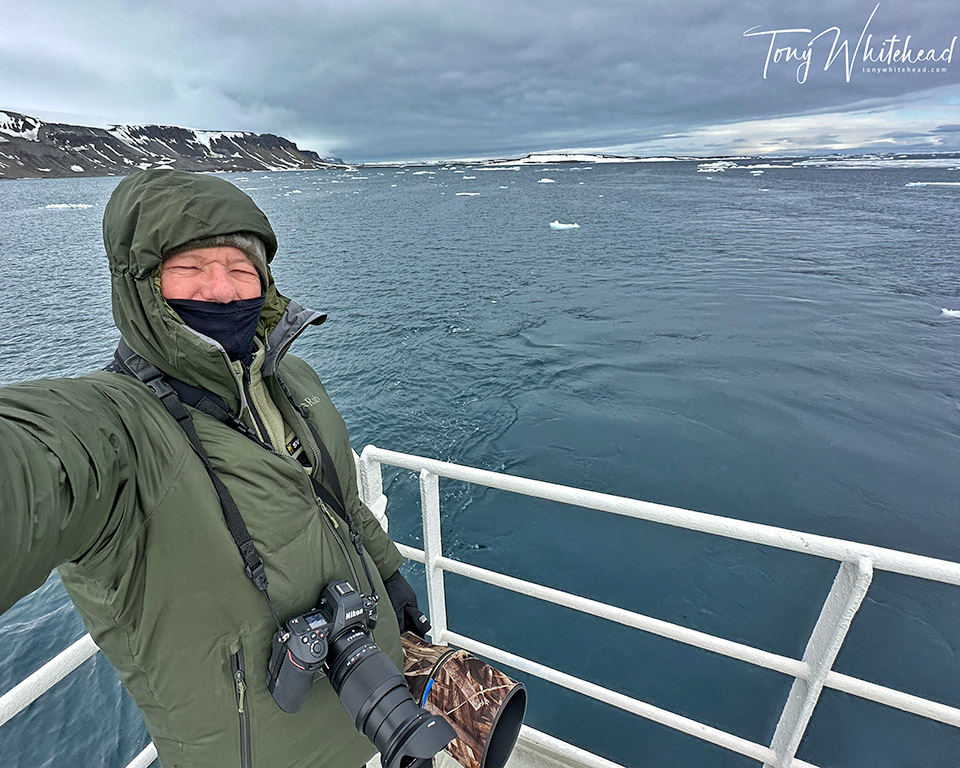
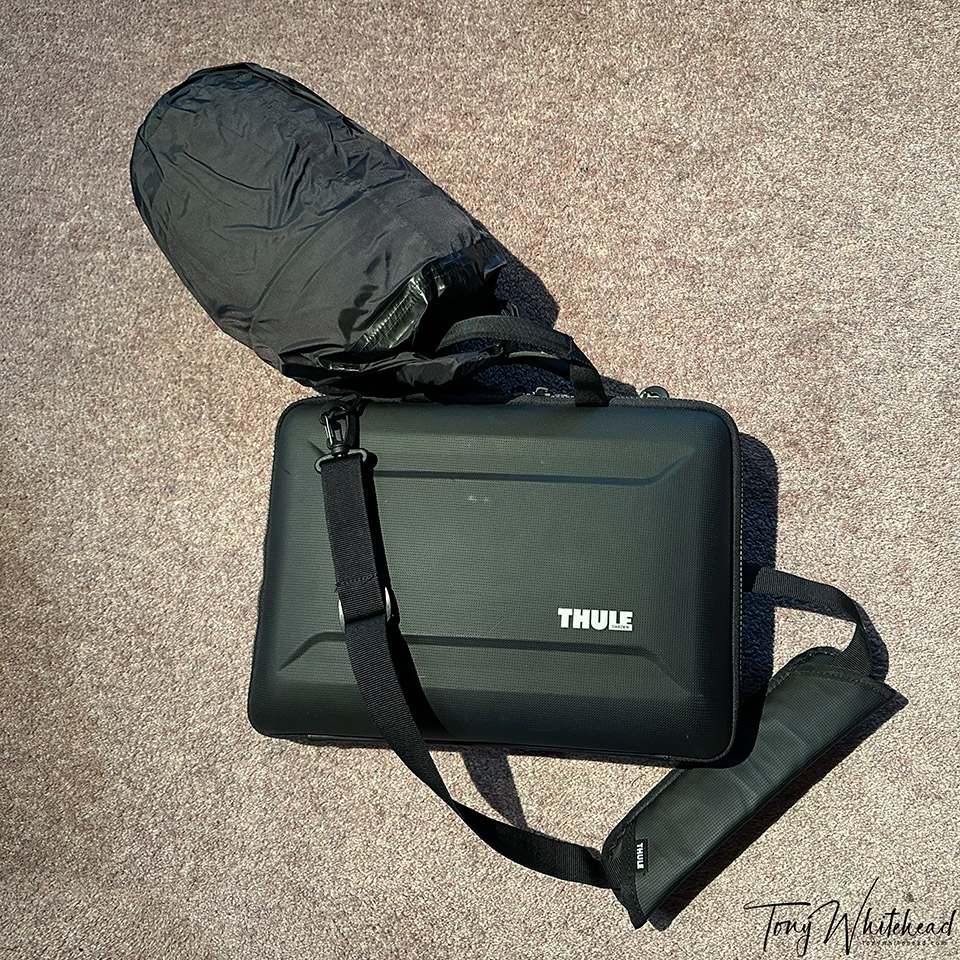
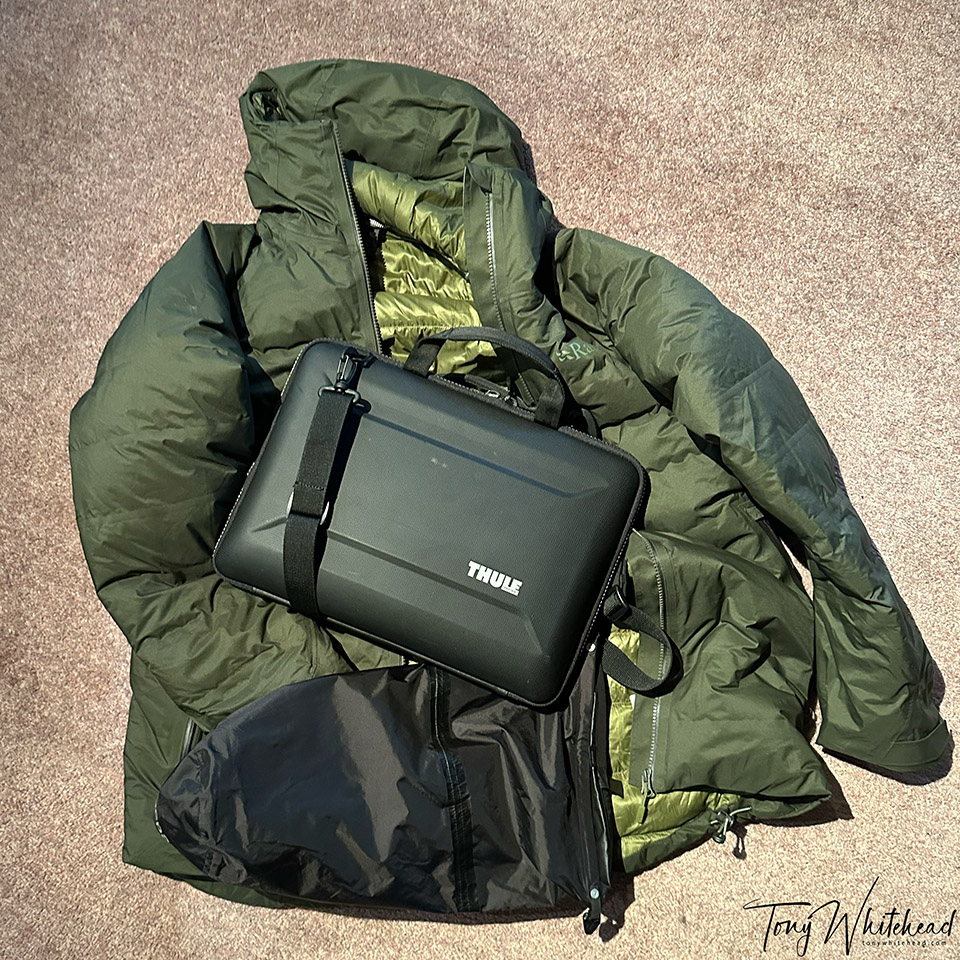
On this Arctic trip we were going to be far closer to the pole than on our Antarctic trip so even though it was mid summer I was expecting potentially colder temperatures but needed to accommodate warm summer temperatures en route. Leaving Oslo for Longyearbyen is very similar to the Buenos Aires to Ushaia transition so you need to leave dressed for heat but have ready access to cold weather layers. My usual flying wear is a thin Columbia shirt with a Kathmandu soft-shell vest which gives me more pockets and a degree of layering. My Kathmandu vest is old and no longer produced but this Macpac option is similar. My main insulating jacket now is a Rab Valiance waterproof down jacket and I carried this in a compression sack looped onto my laptop bag on the flight to Longyearbyen. This worked perfectly and was easy to don before leaving the airport building to board the shuttle bus.
Clothing list;
Base layers
- underwear – Icebreaker or equivalent merino – x5 but you could get away with fewer as they wash and dry overnight
- merino long johns x2
- merino tops x3
- socks – merino mix hiking socks – 3 pairs , knee high thick alpine socks – 2 pairs
Mid layers
- Columbia shirts x3. I have been using these for decades but they are getting harder to source in NZ and my latest ones I have had to order from Australia. Cool in hot weather – easy to wash in the shower and dry overnight. I keep one newish, smarter one in case I need to look a bit neater for dinner!
- Softshell vest as described above for flights and as an additional compact torso insulating layer. Also useful for pretending to be a bit smarter at dinner time!
- Fleece top – Swazi bush shirt. This an excellent mid layer and comfortable on board ship.
- Trousers – I had 2 pairs of my favourite Kathmandu outdoor trousers (sadly no longer available). They are warm, breathable and stretchy with heaps of pockets so ideal for travel and field work. I had one pair of Stoney Creek moleskin trousers to wear onboard ship.
Shell Layers
- Waterproof puffer – Rab Valiance as described above
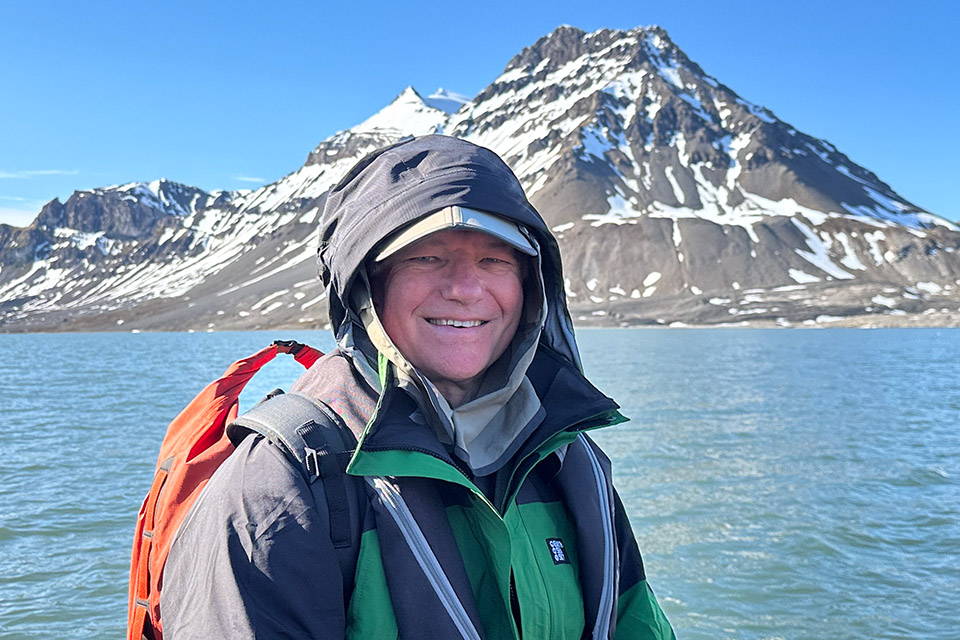
- Rain shell – Earth Sea Sky Zeal Guide. I had been tempted not to take this and rely on my waterproof puffer instead but as we were travelling via the UK for 2 weeks included it. I’m pleased I did as some excursions on Svalbard were just too warm to need a puffer and this was perfect with a merino and fleece.
- Waterproof leggings – Bushbuck Defender. I am a huge fan of these – affordable and tough as nails. Perfect when grovelling in the dirt to get low angle images.
Footwear
- Grub boots – I’m finally onto my second pair of these after about 20 years of hard service from my first pair. For my feet they are incredibly comfortable and great even for extended hikes. With thick socks they kept my toes toasty in the ice. Sadly I could only get a black pair after my first pair were a nice low profile green. If I had been better organised I would have ordered some green ones to collect in the UK on my way. If you don’t want to carry these you can hire similar in Longyearbyen but I prefer to have what I know are comfortable for my feet.
- Merrell Moab Adventure 3 Chelsea Polar Waterproof Men’s boots – I prefer easy slip on boots rather than dealing with laces. I had previously used Blundstone and Gri Sport but had run into a problem with a neuroma on my right foot which the Merrels have resolved. They are insulated which makes them a bit warm for summer use but are lovely in colder conditions. They are not as warm as the Grubs and thick socks though.
- Skechers slips-ons – I used these light and comfortable shoes for flying and as easy options on board ship.

Headwear and Gloves
- Windproof insulated beanie – mine is a SIMMS which has been excellent but there are many alternatives. This a precious treasure given to me by my son before I went to Antartica and has lived in my camera bag since.
- Merino neck gaiter. This was a great addition to pull up and cover mouth and nose in the coldest conditions.
- Gloves are the one area that I thought I would need better cover than I had needed in Antarctica where I had managed with a thin windproof pair. My anticipation proved correct and I was very grateful for my Valleret Mark Pro3 photography gloves. These fitted over my thin gloves and added a layer of insulation. At times I managed with one only on my left hand but in the coldest conditions needed both hands covered with the fold back index and thumb on my right hand covered by the thin gloves only. At time the tips of the exposed fingers went numb and needed a warm up in an armpit for a few moments. I would prefer if the middle finger could be folded back too as I use thumb and 2 fingers to access my frequently used controls.
- Sunhat – Sunday Afternoons Sun Guide cap – this also just lives in my camera bag to travel everywhere I go. Excellent sun protection and got some good use even up in the ice when conditions were bright and less cold.
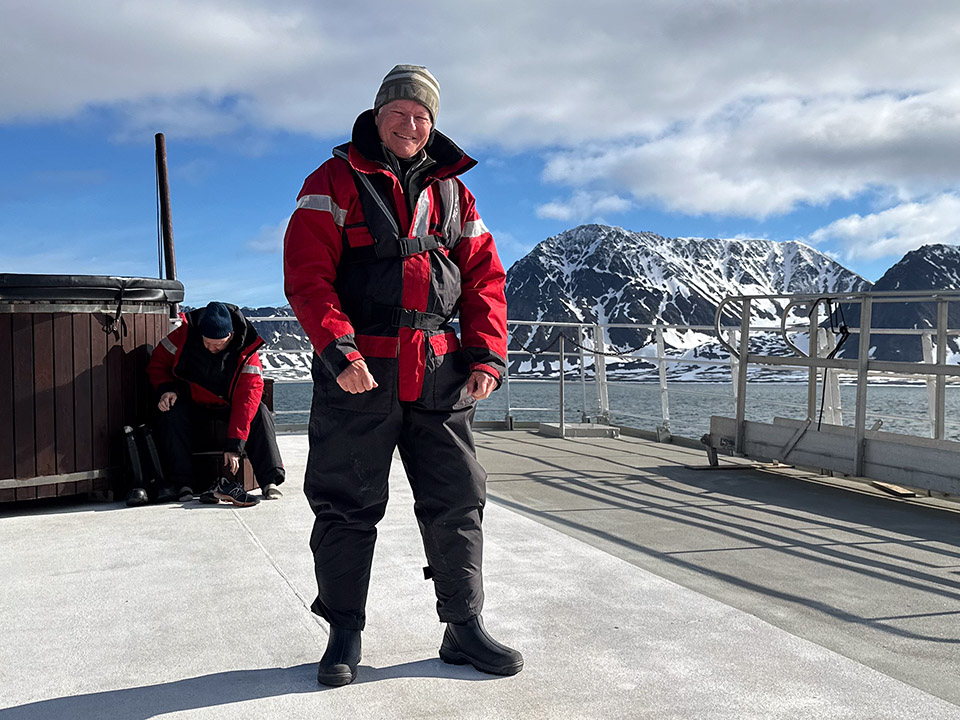
Something to be aware of is that Norwegian regulations now mean that on Zodiac cruises (but not Zodiac landings) you need to wear a full insulated one-pice suit which the ship provides. These are very warm so your layering needs to be adjusted to avoid overheating. I simply ditched my puffer but would have been fine ditching my fleece too. They are great when on a Zodiac but if you land can become very warm with activity.
Planning is part of the fun for this type of expedition but comes with a degree of anxiety about not having something essential or taking more than you need. Hopefully my experience will be helpful. Looking back I didn’t regret not having anything I felt I needed. In terms of what I took and didn’t use, there was my spare pair of liner gloves and spare warm hat in case of loss or drenching, neither of which were needed.
I will do another post regarding camera gear as this is a separate and ever evolving issue.
Thanks to Jens Richter for the photo of me in the warm weather gear and Neil Gilbert for the image in Zodiac cruising gear