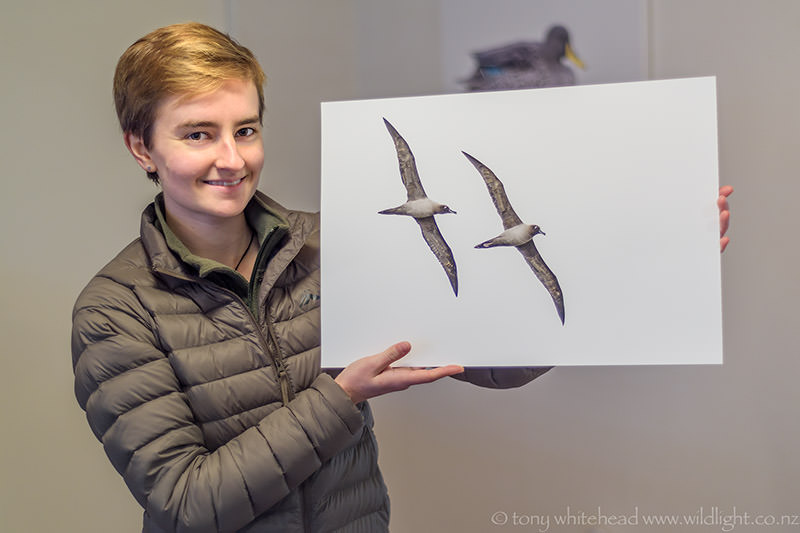
In the days of black and white or colour negative film photography, the process was not complete until prints were made from the negative. Printing photos was an integral part of the process as it was not possible to appreciate the photos until you had a print in your hand. I remember many happy hours and days printing photos in the darkroom, watching images appear on blank sheets of paper in the developing tray. In this day of digital photography and instant gratification we can get a glimpse of our images within seconds on the camera LCD and shortly thereafter can view a fully edited and processed file on a computer monitor. Most images never make it beyond this point and I am as guilty as anyone in this regard. I keep a stash of favourite images on my iPad and regularly flick through them reliving happy moments.
There is still, however, a strong case for printing your work. Whether as 6×4 prints to place in an album, photobooks centered around specific events or canvases and enlargements to frame and hang for display, they all have a place that, to me, takes the image to another level. The walls of my office are covered with framed prints that bring me pleasure and positive feedback from patients. There is something uniquely engaging about the tactile nature of a print on good paper stock that you can hold or admire in a frame. It still feels like the ultimate expression of the image making process.
Shortly after getting my first digital camera, I invested in a Epson inkjet printer that made acceptable images but issues with metamerism, colour matching and ink longevity along with the associated costs of ink and frustration with nozzle blockages soon had me abandoning this. I resorted to getting machine prints made on Fuji Crystal Archive paper which was economical and for the most part quite acceptable. Occasional frustrations with labs and technicians that seemed not to understand even the basics of colour spaces and profiling left me keen to pursue home printing again and I kept in touch with the progress of printing technology. The nudge to again invest in printing gear came last year when Edin’s prize in the D-Photo competition was a voucher from Canon. Having exclusively Nikon DSLR gear this was not of much use for camera equipment so we decided to use it toward a Canon Pixma Pro-10s printer. Canon did an amazing deal for us on a box damaged but otherwise pristine printer which has been well used over the past 6 months.
There is a bit of a learning curve with printing and I can definitely recommend The Digital Print by Jeff Schewe as a great resource. John Paul Caponigro’s The Digital Printing Quick Start Guide is excellent and currently free. Martin Bailey’s Making the Print from Craft and Vision is a useful and, at only US$5, an economical introduction.
Having spent a bit of time trying different options and approaches, I am settling on printing from within Lightroom as I find this simple and effective. Soft-proofing is quick and easy and allows fine tuning an image for a specific paper. The sharpening algorithm in Lightroom is based on my preferred Photokit Sharpener so effectively eliminates this step as I can just print from a soft proof of my layered TIFF master file without resizing and sharpening for a specific paper size. I have found the tones and colours for both colour and Black and White prints to be very good. At present I am limiting myself to exploring the Ilford Galerie range of papers as this is what I enjoyed using in the wet darkroom days. I am particularly fond of the Gold Fibre Silk 310gsm which is a baryta fibre-based paper that gives a very slight warm base to the image.
Seeing a fresh print emerge from the printer, while not quite as dramatic as seeing one materialise in a tray of developer, is very exciting and rewarding. I would strongly recommend exploring printing for anyone wanting to retain control of the entire creative process from capture to edit and final presentation. It has returned a missing dimension to my image making which has really added to my pleasure and satisfaction.


