Photography is usually a break from work for me but with almost all my work now involving management of skin lesions, Skin Lesion Photography has become part of my daily work routine. I have been photographing skin lesions and procedures for almost 3 decades and over that time dramatic changes have occurred. My starting set-up was a Nikon F90 with 105mm f2.8D macro lens and flash with slide film. Heavy, cumbersome and expensive and needing quite a degree of technical skill to ensure decent, usable images that were a challenge to view without a projector. Next came the same lens with a Nikon D70 digital body with flash. Simpler and cheaper to run but still needing some significant skill in use to achieve decent images which were now simpler to display for students on a computer monitor.
During this same period of time Dermoscopy has evolved to become an essential part of lesion assessment and the need to include dermoscopic images in Skin Lesion Photography has become crucial. In effect we now need a series of images showing the location of the lesion, a macro image of the lesion, a dermoscopic view (with non-polarised light and another with polarised light), and if surgery is being done images before and after and occasionally intraoperatively to illustrate a procedure. This is why hospitals have a medical photographer! I need a way to do all this as simply as possibly with a system that a nurse assisting me can easily learn to use to get adequate quality images.
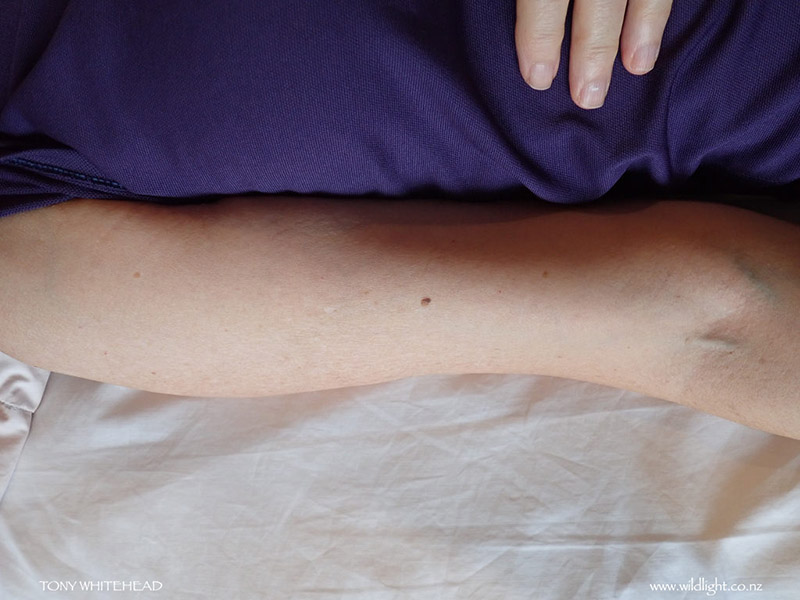
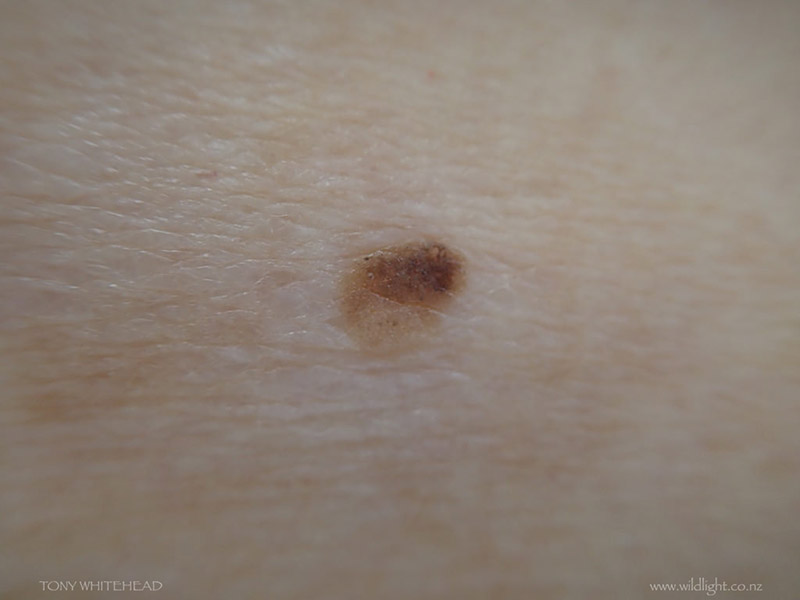
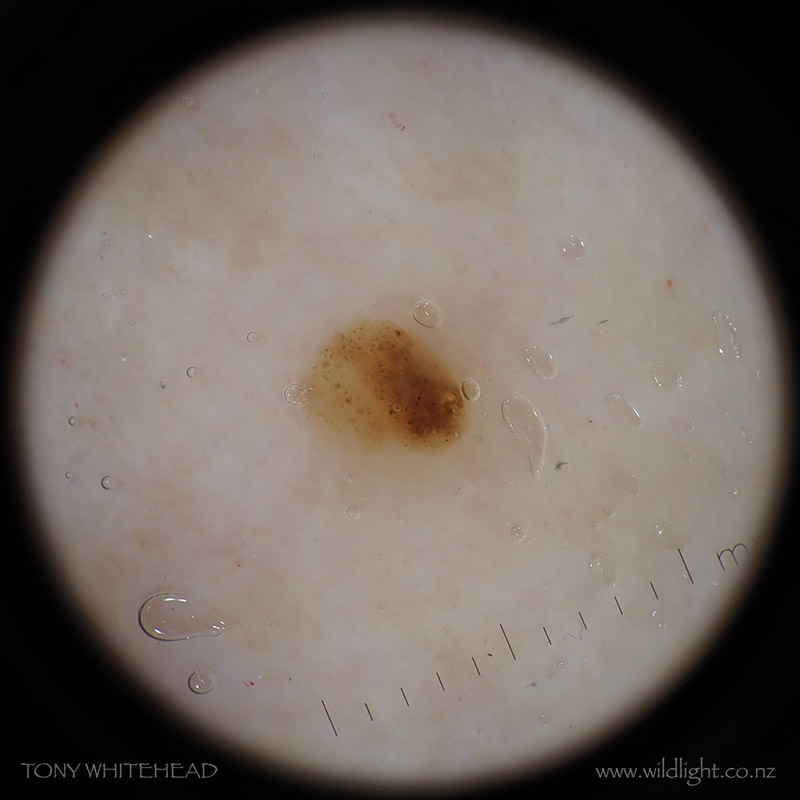
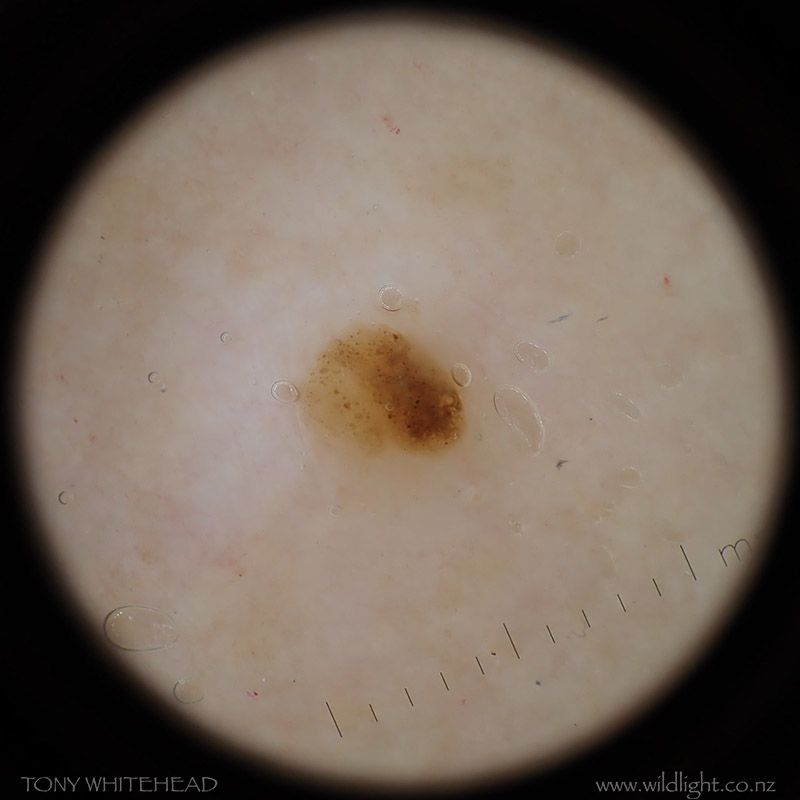
I have used a number of digital systems including an iPhone which can be very useful and can attach easily to a dermoscope with a simple case but in the past 8 months have been using what I think is the simplest and best system for achieving my goals. There is no doubt that better images can be obtained using a DSLR with different lenses and I know that some people use 3 DSLRs with a 3 lenses to achieve a set of images. A standard lens for a localisation image, a macro lens and macro light for macro images and then a specific DermLite FotoII Pro dermoscopy lens for the dermoscopy images. This needs all 3 cameras to have their clocks carefully synchronised and checked episodically to ensure the images from the different cameras load to Lightroom in the correct order to make editing simple and accurate.
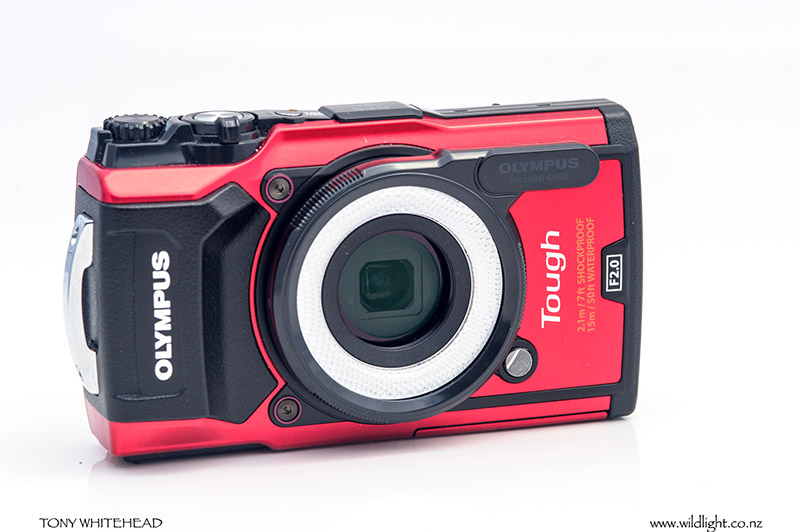
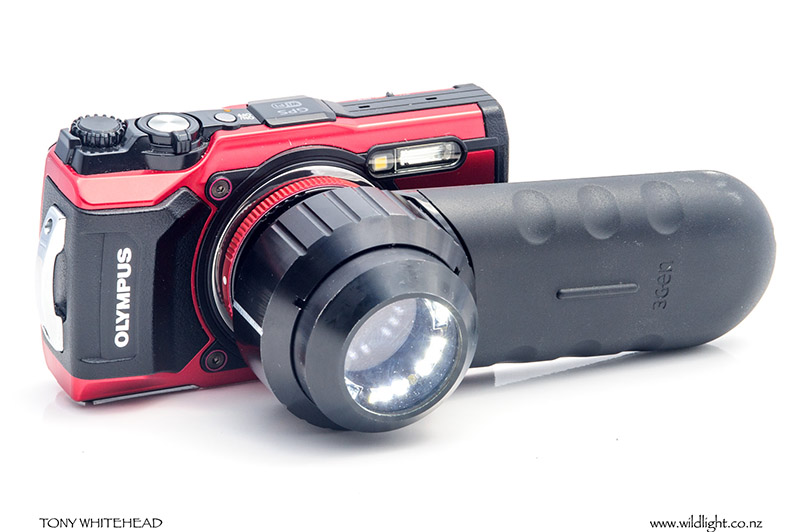
My simple solution involves an Olympus Tough TG-5 camera. This waterproof camera has some great functions for general photography but the Microscope modes allow incredibly close shooting distances. Using the LG-1 LED Light Guide gives a simple ring light that works well for macro shots.
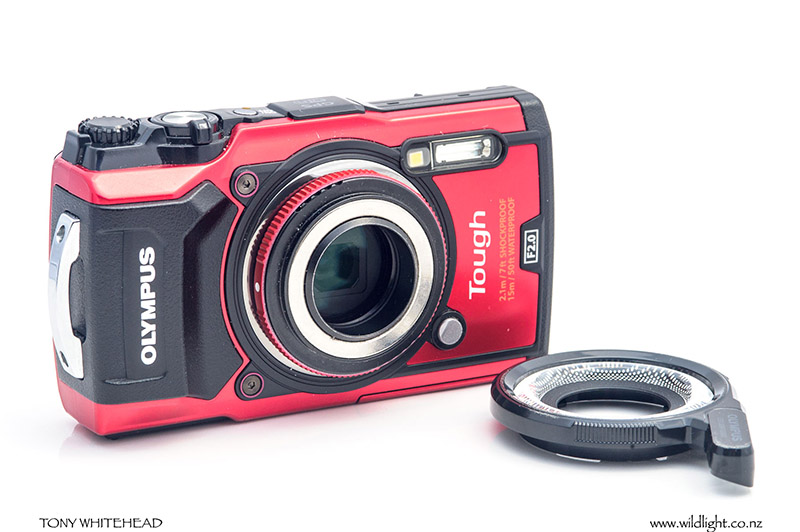
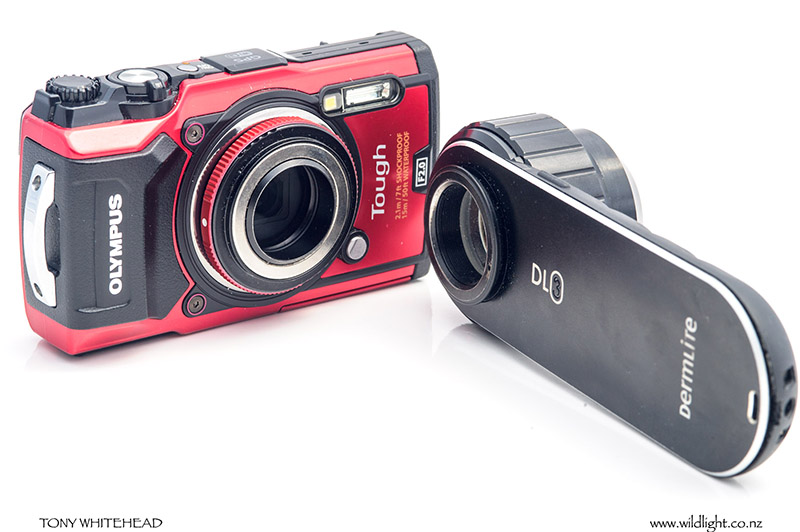
This is easily exchanged for the CLA-T01 Converter Adaptor that has a 40.5mm thread that accepts the DermLite MagnetiConnect Camera Adaptor to connect a DermLite dermoscope to the camera.
DermLite supplies a kit using a Nikon 1 AW1 and I have used the same setup with a reasonable secondhand Nikon 1 AW1 that I managed to get. This was quite good but larger and less balanced than the Olympus setup, didn’t provide decent close-up images and covered a narrower field of view through the dermoscope. This camera has largely been retired to being used for post-op photos taken by the nurse if I am away. The Olympus LED lighting is far superior to the flash from the Nikon.
Skin lesion photos with Olympus Tough TG-5, dermoscopy photos with DermLite DL3 attached. Photos of Olympus TG-5 and DermLite with Nikon D3s and Nikon 105mm f2.8D macro lens – yes the exact same lens mentioned at the start of this post. Still a great macro lens and being a Nikon still compatible with the latest top level DSLR bodies.
For the next 6 months I am busy with a study course which will restrict my time for photography so blog posts may be briefer. On the plus side I have spent a chunk of this weekend working through my Skin Lesion Photography image archive for case reports and that was a stimulus for today’s post which may be helpful to other students needing to photograph their work simply and efficiently. I have often been tempted by getting the best possible images of skin lesions but for me it is a technical exercise rather than an a creative exercise in a technical medium. The creative aspect of photography is a crucial part of my recreation so I would rather expend discretionary resources toward other areas of photography. Currently, simple and convenient directs my Skin Lesion Photography but who knows, I may be tempted by technical excellence rather than adequacy at some stage. I just can’t see myself carrying 3 cameras to work though.

